How to plant Uvularia
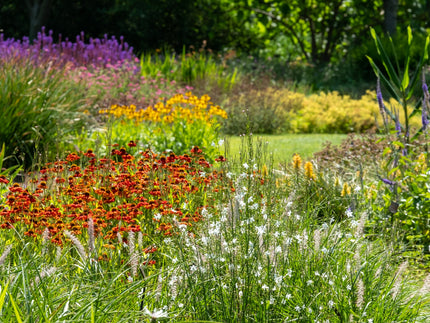
Best suited to shady woodland conditions, Uvularia (also known as Bellwort) is valued for its arching stems and soft, bell-shaped flowers that emerge in spring. It prefers partial or dappled shade and grows best in a consistently moist, fertile soil, where it will establish easily and spread gently over time. This fully hardy perennial is ideal for naturalistic planting beneath trees or along shaded borders, providing spring interest and a valuable early food source for pollinators.
How to plant:
— Uvularia are supplied as bare roots in spring for planting between February and May. They must be planted soon after delivery as bare roots cannot remain fresh in storage for long without light and moisture. If you can't plant on the day of delivery, remove the plants from the packaging within 1-2 days and place in a bowl of water outdoors to soak, then plant within a week.
— Uvularia are hardy to around -20C. They can be potted up and positioned outside to grow on through spring and don’t require any frost protection.
— Bare root Uvularia should not be planted directly into borders, there are various factors which can cause bare root perennials to fail when planted into borders as dormant bare roots. Instead, they should be potted up individually into 15-20cm diameter pots with multipurpose compost and grown on in a sheltered part of the garden for a few months until they are a little more established before transferring into borders.
— When potting, ensure the roots are fully submerged in the compost and the buds or crown of the root system level with the soil surface. Any shoots or leaves which have already emerged should be left exposed above the soil surface. Water thoroughly after planting.
— Uvularia can also be grown in patio containers. If you intend to keep your Uvularia in a patio container, there is no need to pot up and grow on first. You can plant directly into a 30cm+ diameter patio container filled with good quality multipurpose compost following the same method as described above for potting up.
— If supplied later in spring, bare roots may have pale shoots or leaves on arrival. Plant with the roots fully submerged in the compost and the shoots/leaves exposed above the soil surface. They will soon colour-up and continue to grow after being exposed to daylight.
— After potting and growing on, your Uvularia plant will be ready to transfer into a border once the plant easily comes out of the pot with the soil held together by the roots. You can allow the soil to dry slightly before removing the pot, as this will help prevent the soil from falling from the roots during transfer.
— Choose a partially or fully shaded position with rich soil that doesn't frequently dry out. Space the plants 30-40cm apart. Add multipurpose compost to each planting hole to help the plant to bed in well.
— Monitor your Uvularia plant closely during the first growing season, ensuring the soil is kept moist, and that neighbouring plants or weeds are not encroaching into its space.
Aftercare
— Uvularia requires an evenly moist soil, especially throughout the growing season. Water well during dry periods, particularly in spring when growth is most active.
— New growth in spring may be attractive to slugs and snails, so monitor plants in the evening and use control methods if required.
— After flowering, foliage should be left to die back naturally. In autumn, any remaining dead stems can be removed at the base.
— Uvularia are clump-forming perennials which grow back larger and bushier each year. You can divide established Uvularia clumps between autumn and early spring when needed.
— Apply a generous mulch of compost, bark or leaf mould in autumn, to retain moisture and help protect emerging foliage.
— Read further general instructions about planting bare-root perennials


![[]](http://www.farmergracy.co.uk/cdn/shop/products/agapanthus-black-buddhist-1_325x.jpg?v=1575625838 "Agapanthus 'Black Buddhist'")
![[]](http://www.farmergracy.co.uk/cdn/shop/products/agapanthus-black-buddhist-4_325x.jpg?v=1627464050 "Agapanthus 'Black Buddhist'")