How to plant Fritillaria
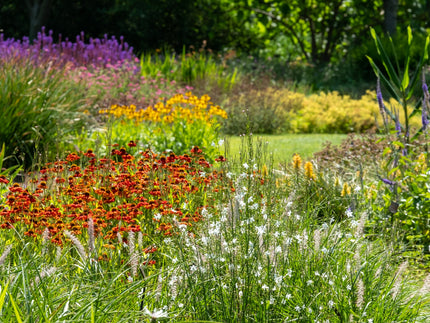
Fritillarias, or fritillaries as they are sometimes called, are among the most diverse plants you can hope to find. From tall Crown Imperials to dainty michaelovskyi Fritillarias, it’s hard to believe that they all belong to the same plant genus. Whatever your preferences, you’re sure to find Fritillaries to suit you. No matter which fritillarias you choose, they can naturalise and even self-seed under the right conditions. Use the low growing varieties towards the front of beds or borders and the tall ones to create dramatic accent points in your garden or at the back of a border.
Fritillaria planting basics
Like most bulbs, fritillaries like a well-drained, well-composted soil and a sunny or lightly shaded position, but Snakes' Heads don’t mind wet conditions. Grouping your bulbs helps them to show off to the best effect, even when you prefer the mixed flower bed, country garden look. The smaller varieties, particularly the Snakes Head Fritillary, work well when dotted about in lawn for a natural meadow look.
How to plant Fritillaria bulbs
— Fritillaria are fully hardy and are happiest outdoors throughout winter. They should be planted between September and December in the same year that they were supplied, while fresh. If you’re not ready to plant them as soon as you receive them, you can open up the packets to let air circulate the bulbs and store them in a cool, dry place. The longer they are stored, the higher the chance of deterioration - they should be planted in autumn and won’t store until the following year.
— Fritillaria bulbs can be planted directly outside in borders or patio containers.
— If you have a heavy soil or soil with a high clay content, it is a good idea to incorporate plenty of compost and some grit or sand prior to planting to aid drainage.
— If planting in containers, we recommend using peat-free multipurpose compost.
— Choose a position in full sun or partial/dappled shade.
— Some Fritillaria varieties are small and grown from small bulbs, others can be quite large. It is normal for them to have an odour. The size of the bulb determines the planting depth, they should be planted around 1-2 times as deep as the bulb is high.
— Plant the bulbs with the pointed side facing upwards. Some Fritillaria bulbs don’t have a pointed side, such as crown imperials - they should be planted with the dipped or hollow side facing upwards. If you are not sure, you can plant it on its side and let it find its own way.
— Small bulbs can be scattered into wide, shallow holes or planted in individual holes around 5-10cm apart from each other. Large bulbs should be planted individually into holes and will need to be about twice the bulb width apart from each other.
— Cover back over with soil/compost. If the soil is very dry, it’s a good idea to water them in after planting to settle them. They will not require any further watering through winter unless you have very mild winters and the soil becomes dry. They will only require water in spring if it is warm and the soil is dry.
— Leave the bulbs planted in the ground throughout the year. The spent flowers can be snipped off, but allow the leaves and stem to fully die back or turn yellow before removing it, as this is feeding the bulb for next year.


![[]](http://www.farmergracy.co.uk/cdn/shop/products/agapanthus-black-buddhist-1_325x.jpg?v=1575625838 "Agapanthus 'Black Buddhist'")
![[]](http://www.farmergracy.co.uk/cdn/shop/products/agapanthus-black-buddhist-4_325x.jpg?v=1627464050 "Agapanthus 'Black Buddhist'")