How to plant Isotoma
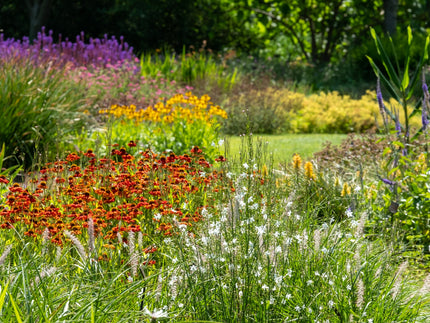
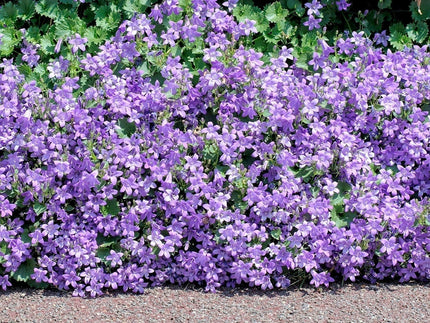
Isotoma is undemanding and quietly effective, working tirelessly to fill gaps, cover bare soil and deliver year-round colour. From early summer the evergreen leaves disappear beneath a constellation of blue and white starry blooms that offer a banquet of nectar for passing pollinators. Over time it’s spreading stems gradually knit together to form a dense carpet of evergreen ground cover.
Commonly known as Star Creeper, it will happily take to small gaps and crevices between paving where other plants struggle to grow. Inching through rockeries and gravel gardens, it gently softens hard edges to create naturalistic planting schemes. Isotoma will cheerfully spill from troughs and planters on the patio or cover the bare ground beneath trees and shrubs. All it asks is a moist but well drained soil in a sheltered, sunny spot - although once established it can also tolerate dry conditions for short periods.
Native to Australia, this low maintenance perennial is hardy to around -5C in mild locations when grown in a sheltered spot. In colder climates it is best planted in a container and moved to a more protected position during the coldest weather. Here's how to get your Isotoma off to a good start:
How to plant:
— Isotoma are supplied as 9cm root balls in autumn and spring and can be planted in autumn or spring. However, they must be planted in the season as supplied, ideally within a week of delivery.
— Your Isotoma root ball plant will require water and light as soon as possible after delivery. If you are unable to plant immediately, the root ball can be positioned in a shallow dish of water in a bright place so that it can remain hydrated and healthy in the meantime.
— Isotoma supplied as root balls can often be planted directly into a clear space in a well cultivated border, depending on the soil type, moisture levels and growing conditions in the border. Avoid planting them into a space which will become over-crowded by more established plants because new plants may fail in competition with large neighbouring plants. Also avoid planting directly into challenging soil types or any exposed space where temperatures could fall below -5C.
— For best results, it is recommended to pot them up into individual 15-20cm pots with multipurpose compost and grow them on in an unheated greenhouse or similar for a few months and then transfer them into a border or rockery with soil when they're a little more established. Potting them first will give them an easy start, they can also easily be moved under cover during cold snaps.
— Plant Isotoma root balls so that the root system is fully submerged in the compost, leaving any young shoots/leaves, buds or stems exposed above the soil surface. Water well after planting and continue watering regularly whenever the soil starts to dry out.
— If planting Isotoma root ball plants directly into a clear space in a border, choose a sheltered position in full sun, light or dappled shade on any moist, well-drained soil. Once established, it can tolerate short periods in drier conditions, coping well when water is scarce. Space the plants 30-40cm apart to form a group or ground cover. Add multipurpose compost to each planting hole to help the new roots grow and water well afterwards. Mark with a plant label or cane so you can identify and monitor the new plant in the border, ensure it is hydrated, keep the area clear of competing weeds/plants, and also protect from freezing conditions.
— Isotoma fluvitalis is hardy to around -5C. In gardens where hard frosts are likely, it is best grown in a container that can be easily moved to a frost-free location in winter.
—There should be some buds/shoots visible on the plants when they are supplied. The plants will be dormant for winter but will start to grow and produce leaves in spring. Perennials may not flower in the first year.
Aftercare
— Isotoma is evergreen retaining its foliage throughout the winter months.
— This perennial is hardy to -5C when grown in a sheltered spot but requires some winter protection in very cold or wet locations. Plants potted in the autumn will benefit from some shelter from heavy winter rainfall in their first year.


![[]](http://www.farmergracy.co.uk/cdn/shop/products/agapanthus-black-buddhist-1_325x.jpg?v=1575625838 "Agapanthus 'Black Buddhist'")
![[]](http://www.farmergracy.co.uk/cdn/shop/products/agapanthus-black-buddhist-4_325x.jpg?v=1627464050 "Agapanthus 'Black Buddhist'")