


How to grow perfect Perennials from Bare Roots
Reliable, resilient and repeating every year – these are just some of the reasons why growing bare root perennials is so satisfying, not to mention their quintessential cottage-garden charm. Returning every year, their ability to make more of an impact each time means that by planting perennials you’re making an investment which will just keep rewarding you for years to come!

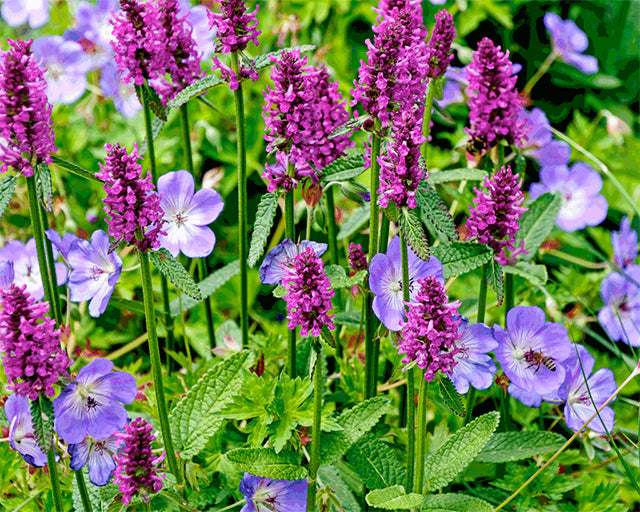
↑ Beautiful planting combo of Stachys (Alpine Betony) and Geranium (Cranesbill)
Also noteworthy is their typically low-maintenance nature which means you don’t have to make too much of a fuss to get them to do well. The determination of hardy perennials is undeniable, once they’re happy in their place they just keep on giving!
Why choose bare root perennials?
If you want quicker results than growing from seed (which can take years to establish into a substantial plant) but don’t want to pay nursery prices for potted plants, the bare root option is without doubt the way forward.
When choosing plants, buying potted plants which have benefitted from months of time and care in a nursery can be a pricy way to do it. The great thing about hardy perennials is that they are very easy to grow at home yourself, not requiring any special protection or expensive methods. Plus, being acclimatised to your garden conditions from the start, they may well even establish quicker.

↑ These are the bare roots of Allium 'Millenium'
Pre-potted plants may have been grown from cuttings, seeds or bare roots. While they may have some bushy top growth, they may not be very mature and it could take some time before they establish a strong root system and really start to put on a good show. Bare roots are taken from established plants which gives them a head start with a bit more guts and vigour from the very beginning – they’re ready and raring to continue growing and working as they were on the established parent plant they were taken from – this is what forms a stronger and more vigorous plant in the first years.
How to grow bare root perennials
Hardy perennials are typically undemanding, fairly resilient and can be exposed to the elements from an early stage. This means you don’t have to worry about making space to start them off in a greenhouse. That said, a little nurture at first does go a long way towards producing healthy plants which establish quickly.

↑ Echinacea 'Strawberry & Cream' (Coneflower)
Bare root perennials can grow very well if planted straight into borders, but doing so does expose them to the risk of becoming lost among neighbouring plants, subject to disturbance during routine weeding as well as competition with more established plants around them. Also, it’s not uncommon for the roots to be whipped out and lost by birds looking for worms! To allow your bare root plants a chance to establish without accidental disturbance or competition, we recommend potting them up first in temporary pots and growing them on in a sheltered, sunny spot outdoors for a few months before planting out.
Generally speaking, most hardy perennial plants will do well in a position with full sun or partial shade and a free-draining soil, but do check the instructions on each variety before choosing where to plant them to make sure you find a spot that’s well suited. Some varieties, including Convallaria, Dicentra and Epimedium prefer a cool position in shade with a fairly moist soil. Then there are plants like Astilbe which enjoys a damp, poorly drained soil.

↑ Dicentra spectabilis 'Cupid' (Bleeding Heart")
It’s worth noting that perennial plants grown from bare roots often take a year to establish before they start to make a big impression. In the first year, you can expect to see a modest display of flowers and foliage, but each year thereafter they come back with around twice the impact!
Planting instructions for bare root perennials
Follow these brief instructions to help get your bare root perennials off to a good start…
- Soak the roots in water for 3-6 hours prior to planting;
- Plant your bare roots into temporary pots with a multipurpose compost in spring and grow-on in a sheltered spot outdoors;
- Choose a pot which comfortably fits the bare roots;
- Some bare root perennials have a noticeable crown which should be just below the soil surface with any top growth exposed;
- Some varieties are a length of root which should be planted lengthways and shallowly (1-2cm);
- Plant out into borders or permanent containers in late spring or early summer once in full growth. Choose a position in sun or shade depending on the variety;
- Water-in after planting and keep hydrated when in growth.
Growing perennials in pots
Most perennials are very happy to grow in pots and will provide you with a low maintenance display which will come back each year. Generally speaking, a large, sturdy pot is best if you have plants which are over 30cm tall and wide, so that it doesn’t topple over on a windy day. Lower growing plants like hardy geraniums are great for pots because they are also drought tolerant, reducing the need to keep your pots watered throughout the season.
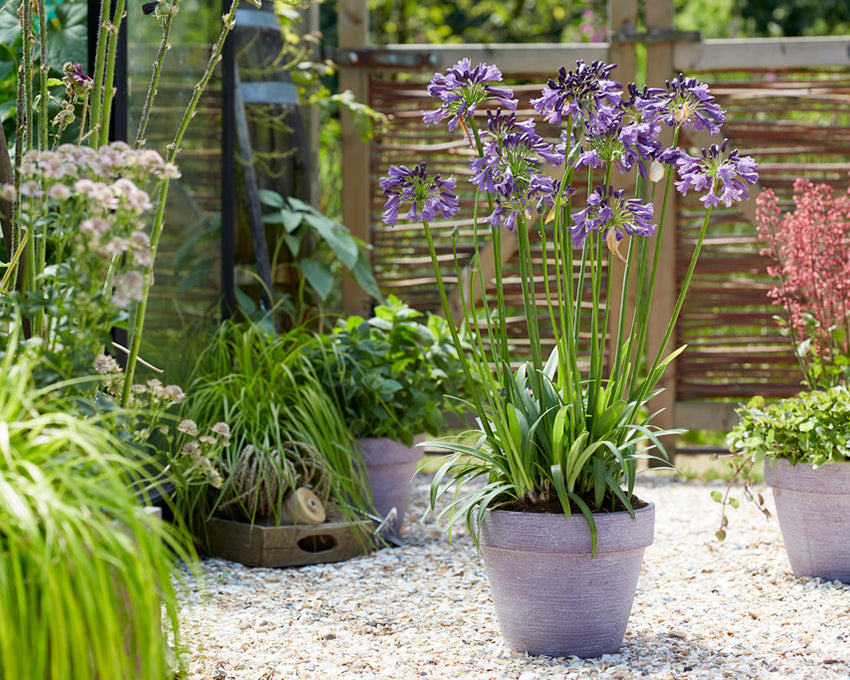
↑ Agapanthus 'Poppin' Purple' (African Lily) in a pot
Use a soil-based compost or garden soil instead of multipurpose compost when planting a permanent perennial pot display as this will be more robust, heavier and has a higher density to able to support your plants for longer without shrinking down.
How to care for perennials
Part of the beauty of hardy perennials is that they are generally fairly low maintenance – as long as they’re in the right spot and they’re happy, they’ll do their job without much fuss at all. Those which grow tall could benefit from staking either once in growth or by putting a support in place for them to grow through. Otherwise, allow them to grow throughout summer, deadheading as and when necessary. Some earlier-flowering varieties may bloom again towards late summer. At the end of the season when flowering has finished, cut the stems right down to just above ground level. Their hardiness means the plants can remain unprotected throughout winter, before putting on fresh growth the following spring.

↑ Digging up and (optionally) dividing a clump for replanting
Do take note of the plant’s preferred conditions when choosing where to plant it. Those which prefer a shady position may not cope in full sun, and vice-versa. If you aren’t sure, go ahead and plant it and give it a bit of time – if you find that it isn’t thriving, it is likely that it doesn’t like the conditions it is growing in. But the good thing about perennials is that they are happy to be moved around, so if they look unhappy, simply dig up the clump in autumn and replant it immediately in a part of the garden with more favourable conditions.
Dividing perennials
Many hardy perennials are clump forming, which means that they grow a larger root network and base, or ‘clump’ as they establish over the years. Once you have a large clump, you can lift and divide it – doing so helps to keep the plants healthy and productive, it also means you gain extra plants for free!
The best time to divide perennials is in late Autumn when the soil is consistently moist, this allows time for the plants to settle in over winter so they can continue to grow undisturbed in the spring. If you don’t get around to it in autumn, you can divide perennials in early spring too.
 ↑ Lifting and dividing perennial root clumps
To divide your perennials, use a spade to dig around the clump and carefully lift the whole thing. Once out of the ground, use your spade to cut the clump into sections, either in half or quarters depending on how big it is. Then, simply replant the sections in the same place but with a little more space between them in which to grow, or replant one in the same place and replant the others elsewhere in the garden.
Planning a perennial planting scheme
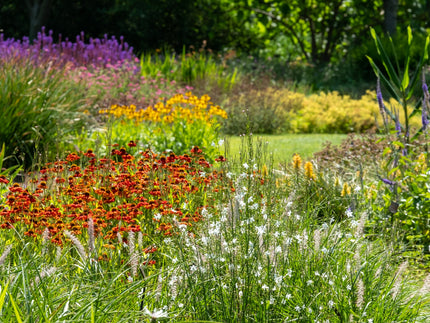
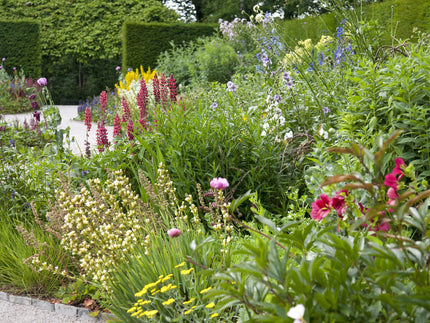
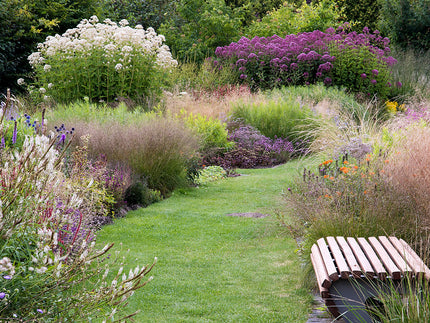
When it comes to positioning plants in the border, think about their heights, habits, colours and flowering time. Taller varieties should be positioned towards the back, whereas more compact or low-growing perennials should be nestled in at the front where they can be seen. Whether you have a special colour scheme or a full colour palette, you’ll want to make sure that your colours are evenly spaced too.
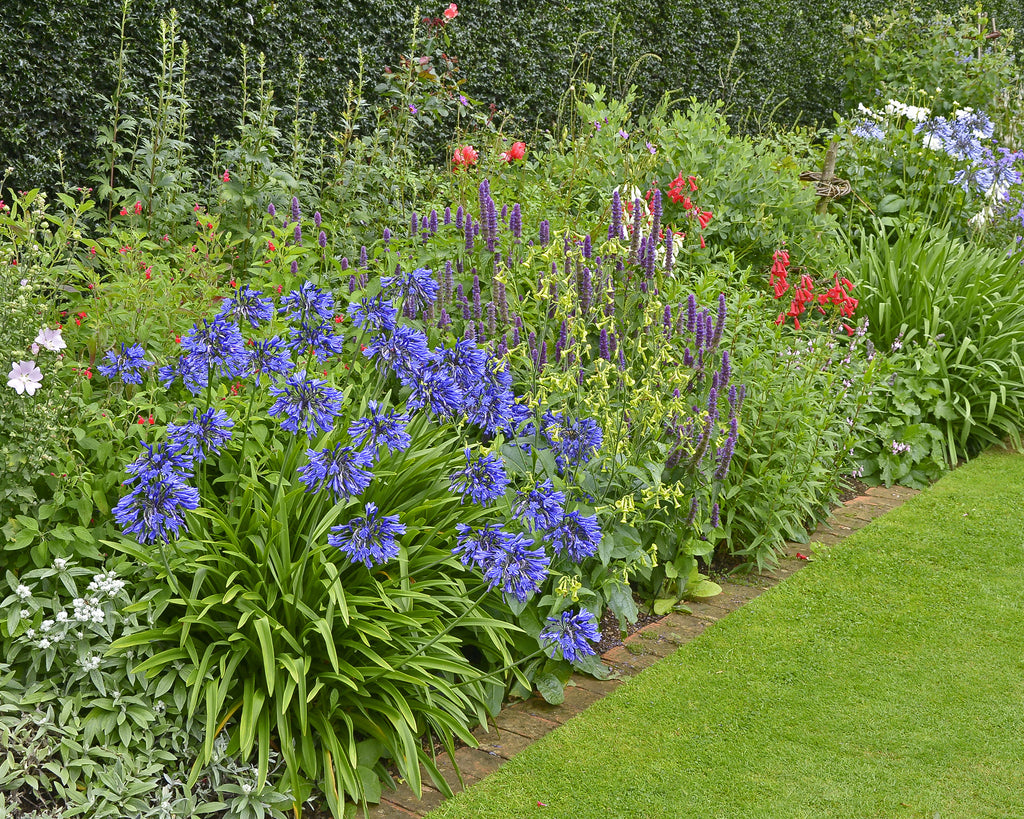
↑ Example perennial planting scheme
If you have multiples of one plant variety, they’ll make a bigger impact if planted in groups of three or more. If you have a large border, repeating groups of the same variety a few times along the length of the border will help create a professional look. Also, choose plants which flower successively to provide a full season of colour.
Perennials in brief
- Thrives in full sun or partial shade unless otherwise specified
- Fully hardy, can be potted up and grown on outdoors
- Perennials typically enjoy a moist but free-draining soil
- Hardy perennials grow back every year
- Low maintenance and easy to care for
- Many varieties are great for pollinators
- Plant on arrival in spring or autumn
- Suitable for herbaceous borders and pots

880 comments
NjpOikxLPoAhSWd
NfULzsdHxQt
tkuhwrWTDgLy
WNeRykvXBU
vtcxYeKQWnwALzrS