The ultimate goal when designing your garden or planting scheme is to be able to enjoy colour and interest for as long as possible—preferably all year round! While the number of plants which will flower in the winter is limited, it's certainly possible to have flowers to admire in the garden for most of the year, and of course a few plant treasures to enjoy indoors through the winter months.
There are very few plant types which will flower for months on end—most plant varieties tend to have a flowering time which lasts between 2-8 weeks. Therefore, it is necessary to choose a selection of plants with different flowering times, along with plenty of plants with long flowering times, and this will carry the season of colour through so you don't run out of garden interest. It's a familiar learning curve for many budding horticulturists, who discover that a plant will look fabulous when flowers, then start to fade perhaps sooner than expected leaving a sad looking space if there is nothing nearby to take over the show.
Planning for plants which pick up the slack at the time their neighbouring plants are likely to fade, often referred to as a successive planting scheme, it key to achieving the effortlessly long-flowering garden goals which we all strive to achieve.
Choosing plants for flowering time
There can be quite a lot to juggle when planning a planting scheme—what colours look good together, plant heights, soil and aspect preferences for instance. Creating a successive display is thinking about all of that, whilst bearing in mind when the plants will flower. Choosing a plant purely based on flowering time may lead you to choose a variety that you wouldn't usually be drawn to based on looks. But usually you'll find that looking at the bigger picture and introducing such plants helps to bring the whole thing together into one seamless, successive-flowering masterpiece!
On our website, you can select flowering months in the search filter to help you choose plants which will flower at the right time. Of course, flowering time is approximate because it does depend on the climate, and also the weather, but using these filters certainly helps to point you in the right direction.
When to order plants for a year-round display
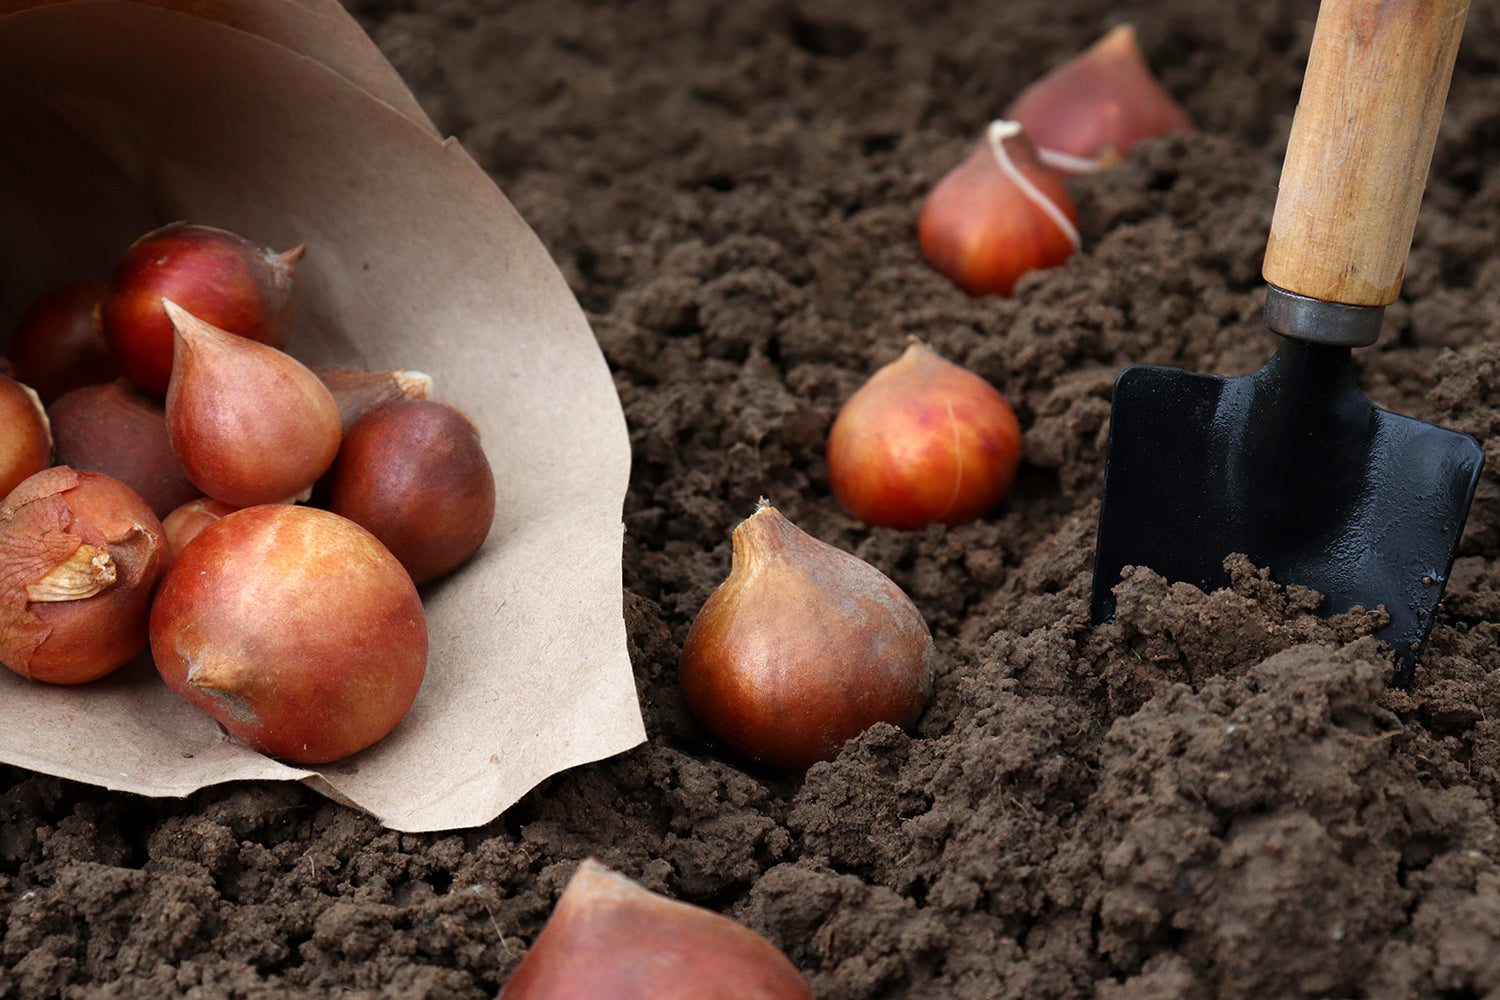
Establishing a colourful garden with interest for every season takes time and can't all be done and dusted in one big planting marathon. Due to the different growth cycles and harvest times of flower bulbs and plants, which means they have seasonal planting times, it is something you will need to add to over the course of a year, then top up in future years as inevitable gaps do occur.
Because plants are available at seasonally appropriate times, it is necessary to order flower bulbs and bare-root perennials in two separate seasons. At Farmer Gracy, you can buy plants which flower from winter to late spring in autumn (from our autumn range), and plants which flower from summer to autumn in spring (from our summer range).
Here's a quick overview which shows the two seasonal ranges—their flowering time, shipping time, planting time and when they're available to order:
Spring-flowering bulbs → Shop here
|
Order in
|
Shipped
|
Planting time
|
Flowers
|
| May — Dec |
Aug — Dec |
Aug — Dec |
Autumn
Winter
Spring |
Summer bulbs & plants → Shop here
|
Order in
|
Shipped
|
Planting time
|
Flowers
|
| Dec — May |
Feb — May |
Feb — May |
Spring
Summer
Autumn |
Planting times
Our shipping seasons are timed correctly for planting. Plants and bulbs from our summer range are shipped between late February and May, varieties from our autumn range are shipped between late August and December. It is between these months that the varieties you have ordered should be planted for optimum, reliable results.
Establishing a beautiful planting scheme
Gardens take time to establish, but with the right choice of plants, new planting schemes can produce a great display in the first year, and also get better and better in future years. Over the years, most plants will grow back larger and bushier, looking more natural and effortless each time.
When planting up a new space, it's best to include a selection of hardy perennial bare roots and bulbs, along with an equal proportion of high-impact, first-year flowering plants. By including first-year flowering plants, your planting efforts will be rewarded much sooner. This also takes the pressure off the hardy perennials which will need time to settle in before they create a big show.
If you filter your search on our website for hardy perennials, you will find a fantastic selection of bulbs and plants which will grow back every year without the need for frost protection. They are low maintenance, and each year they will grow back in a larger clump with more vigour and more flowers. Hardy perennials are excellent value plants which you can enjoy year after year. It is worth including lots of them in a new planting scheme, but do remember that they typically take a couple of years before they will start to fill out and flower well.
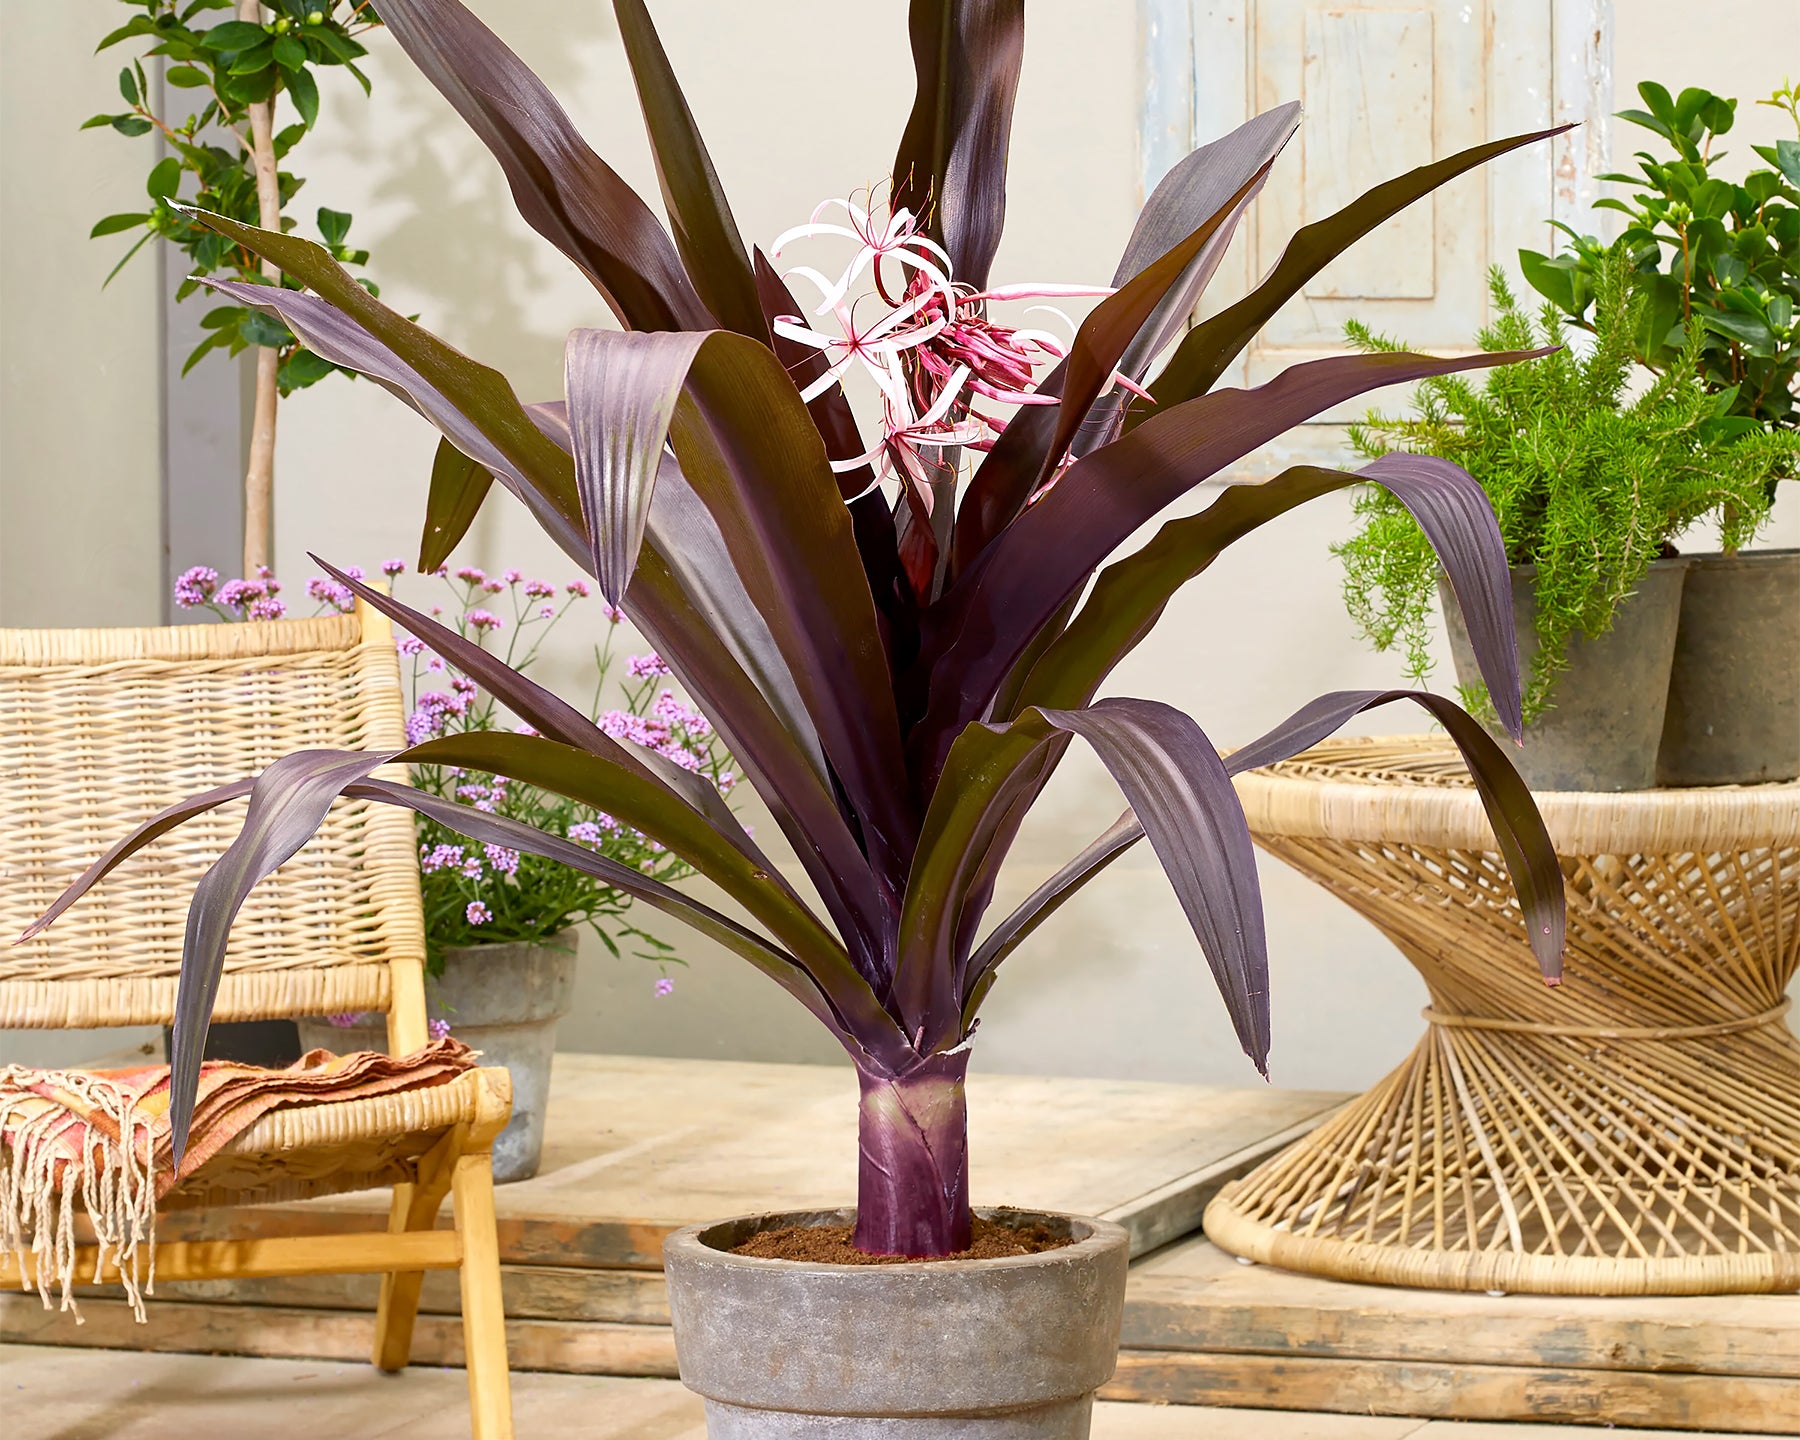
Plan for this time when new hardy perennials getting established in the garden, and in the meantime allow some space for first-year flowering plants like dahlias, begonias, callas, lilies, gladiolus, ranunculus and anemones. Most of these varieties will also grow back each year with the right care over winter, but unlike hardy perennials, they put a lot of effort into flowering in the first year and will get your new summer planting scheme off to a colourful, rewarding start.
With regards to spring flowering bulbs, fortunately most varieties will flower beautifully in the first year. It is mainly the summer-flowering bulbs and plants which vary more widely in how much time they take to establish.
Plants for places
A huge part of planting a successful planting scheme is choosing varieties which will thrive in the conditions you have. For example, plants which enjoy shade are best grown in shade, whereas those which prefer to grow in full sun will sulk in a shady position and may eventually fail or produce straggly, sparse growth. Most plant types will grow in a space which offers full sun/partial shade, which means sun for part of the day, or lightly dappled shade.
Soil type also plays a part in plant choices. Certain plants can cope with a clay soil, whereas others may simply start to rot or struggle to establish. Areas in full sun with a light, dry soil may be tricky for some plants to cope with, but others will do very well in such a location.
You can filter your search on our website for soil type and aspect (sun/shade). For example, you can select Full Sun and Clay in the search filter and a range of suitable plants will be displayed for you to choose from.
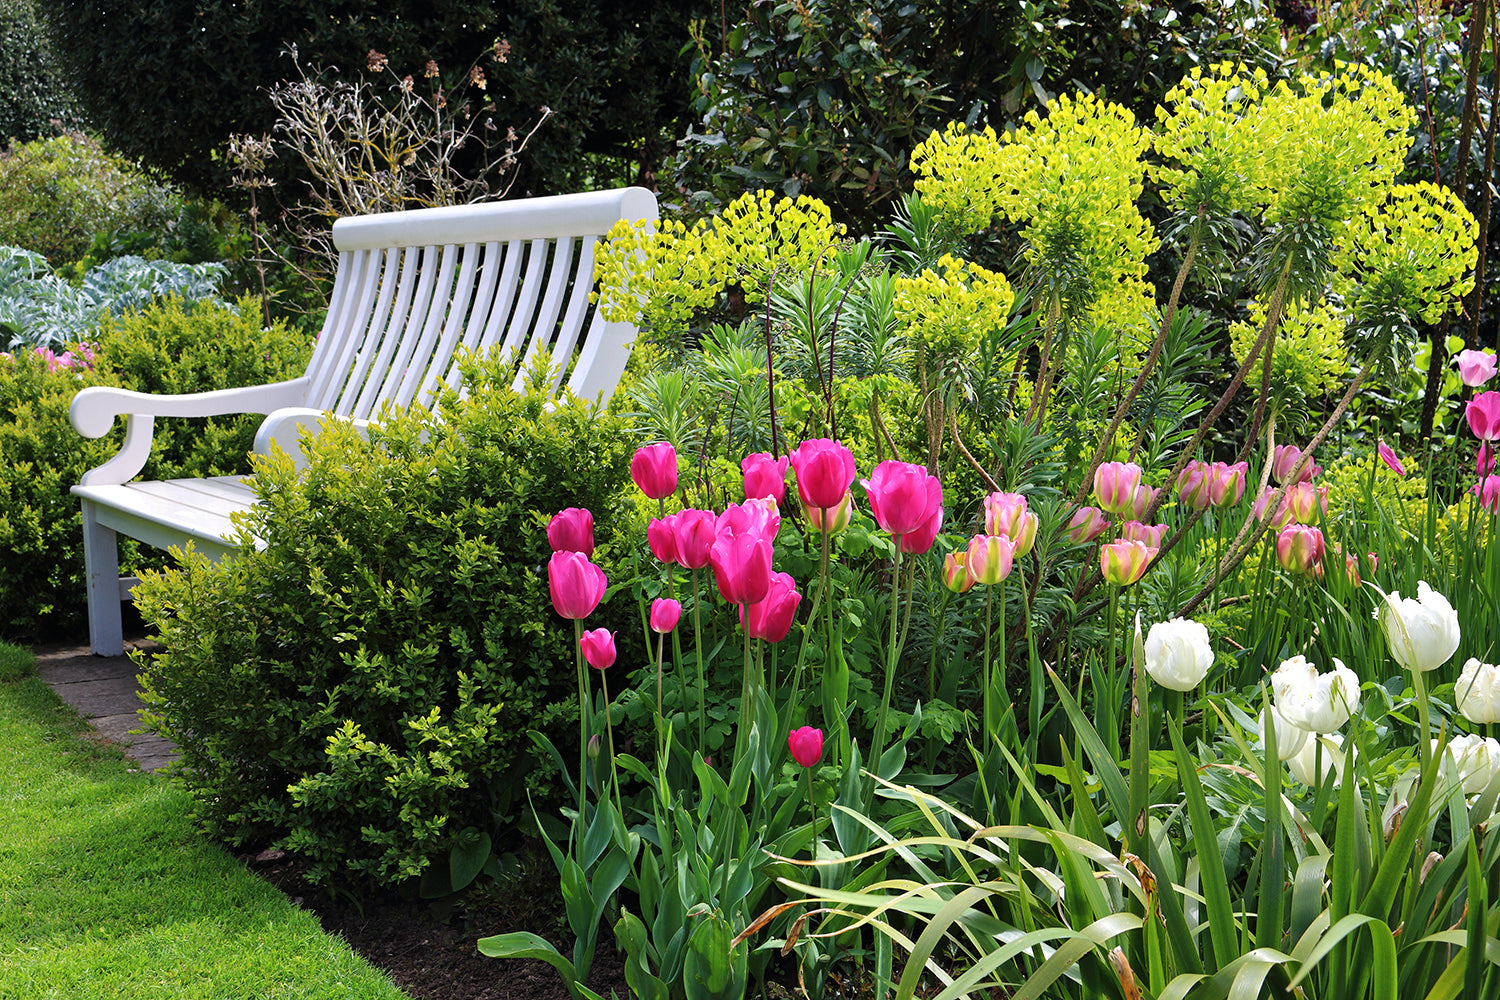
Spacing for even colour through the season
When you're planning your planting scheme, ensure your plants are spaced so that colour is dispersed evenly throughout the season. Try to plan what plants will be in flower and when, ensuring that your combinations are flowering simultaneously, filling the gaps in between where earlier flowering plants have faded.
It isn’t the end of the world if you notice that something doesn't look right where it was originally planted. Usually, plants can be carefully dug up and relocated whilst dormant if this is the case.

Flowers month-by-month
Below, you will find plant suggestions which will provide interest for every month of the year. You may notice that some are listed in multiple months, such as dahlias and begonias—this means that they have a long flowering time and typically will be flowering during most of that time in favourable conditions (it is definitely worth including some of those in your planting scheme!)
January
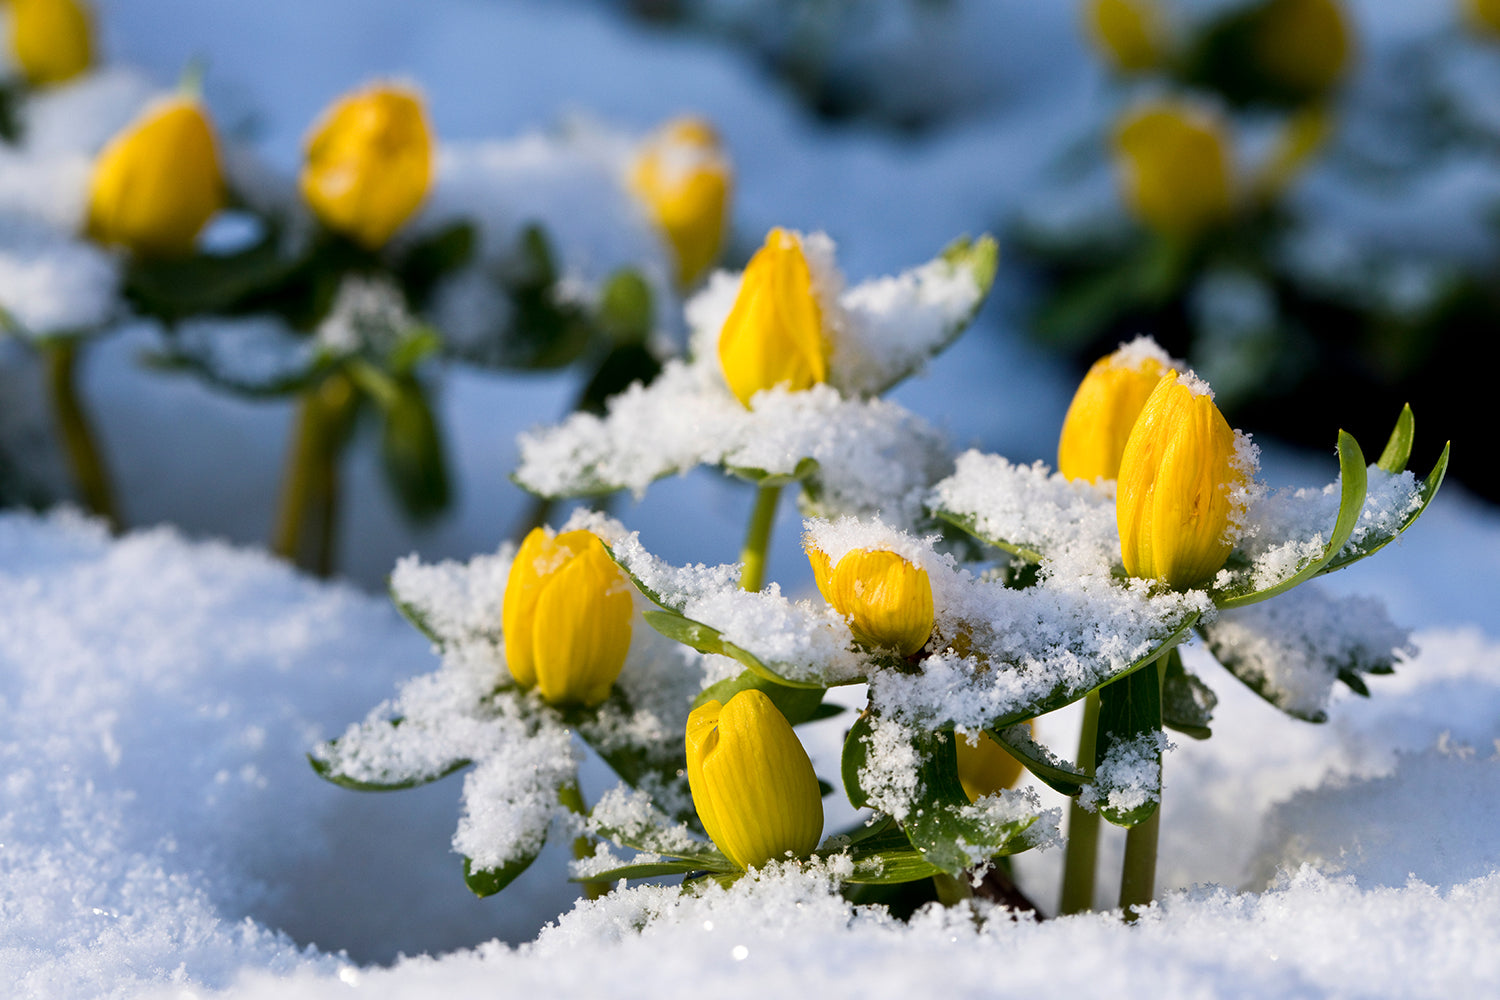
— Eranthis hyemalis
Plant in autumn, grow outdoors in pots, woodland areas, borders or through rough grass.
— Iris reticulata
Plant in autumn, grow outdoors in pots, borders, rockeries, gravel gardens or window boxes.
— Hippeastrum (amaryllis)
Plant in autumn, grow indoors.
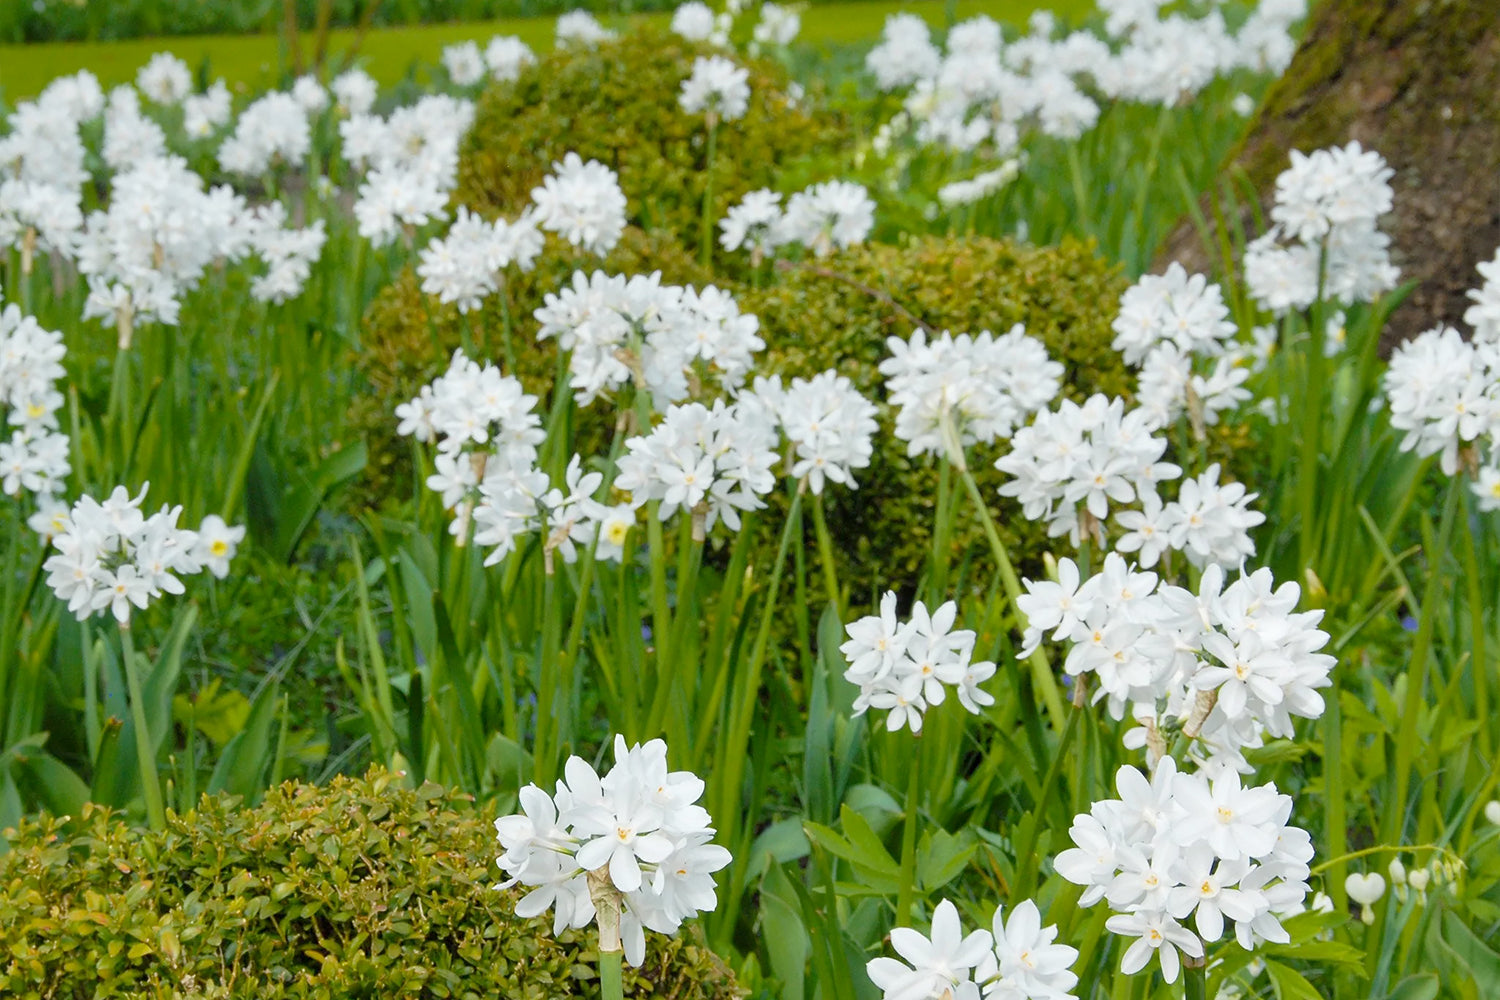
— Paperwhites
Plant in autumn, grow indoors.
February
— Eranthis hyemalis
Plant in autumn, grow outdoors in pots, woodland areas, borders or through rough grass.
— Iris reticulata
Plant in autumn, grow outdoors in pots, borders, rockeries, gravel gardens or window boxes.
— Hippeastrum (amaryllis)
Plant in autumn, grow indoors.
— Crocus
Plant in autumn, grow outdoors in pots, borders, rockeries or through rough grass.
— Narcissus (early)
Plant in autumn, grow outdoors in pots, borders, lawns or through rough grass.
March
— Crocus
Plant in autumn, grow outdoors in pots, borders, rockeries or rough grass.
— Hyacinth
Plant in autumn, grow outdoors in pots and borders.
— Muscari
Plant in autumn, grow outdoors in pots, borders or through rough grass.
— Fritillaria
Plant in autumn, grow outdoors in pots and borders. Small, wild types can be grown in rough grass.
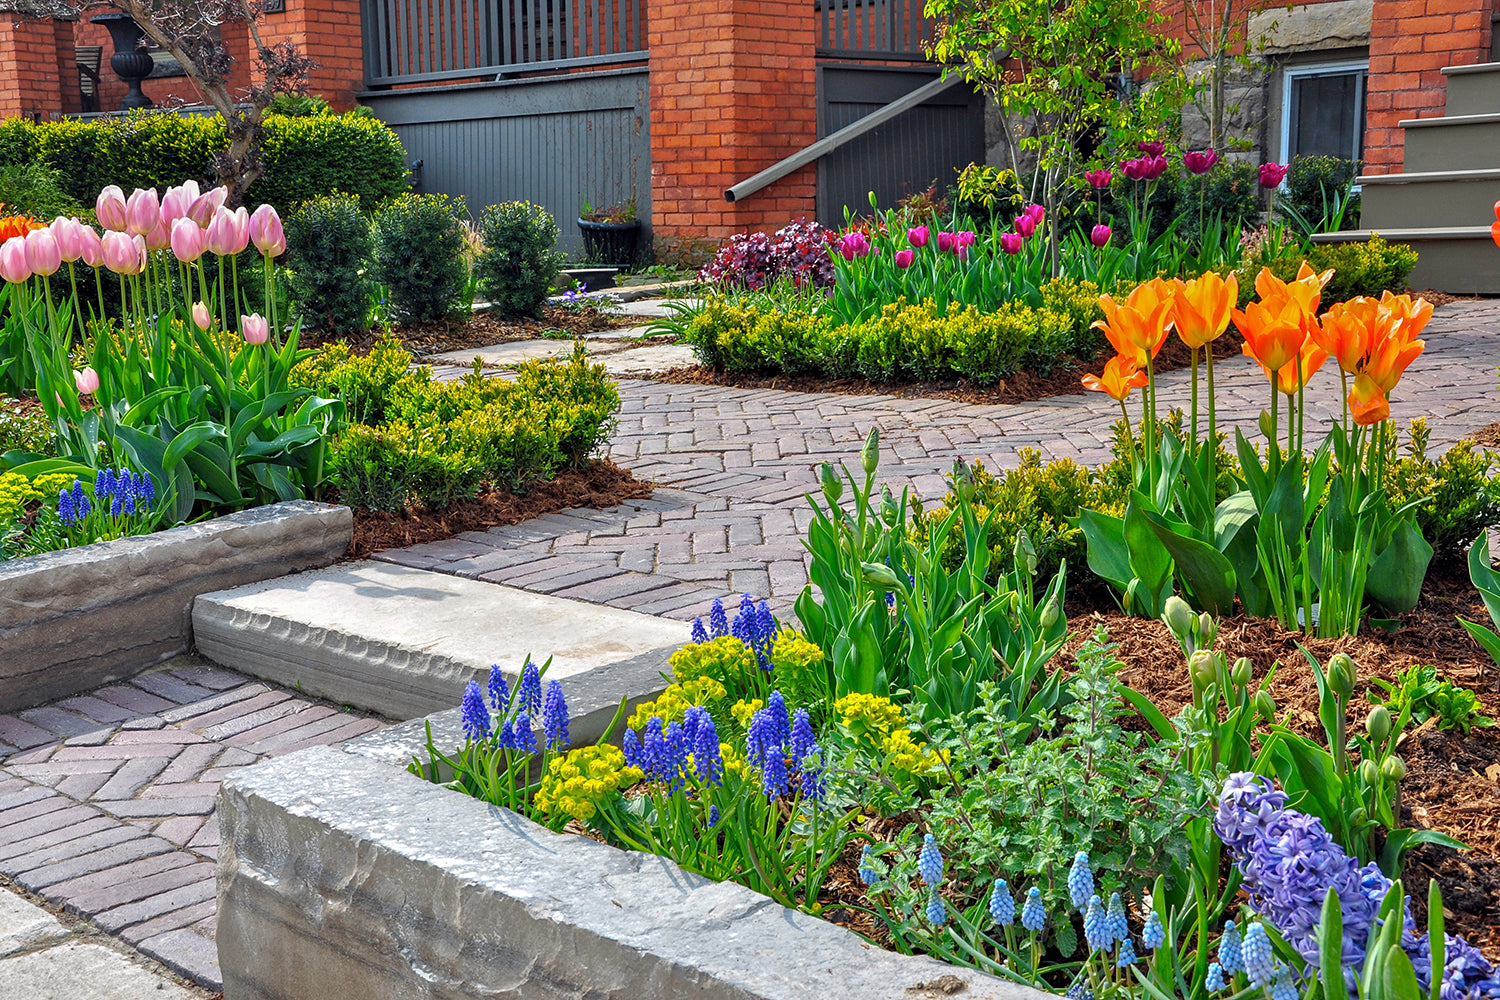
— Tulipa (early)
Typically botanical tulips. Plant in autumn, grow outdoors in pots, borders or gravel gardens.
— Narcissus (mid)
Plant in autumn, grow outdoors in pots, borders, lawns or through rough grass.
— Scilla
Plant in autumn, grow outdoors in pots, borders, gravel gardens or through rough grass.
— Chionodoxa
Plant in autumn, grow outdoors in pots, borders, gravel gardens or through rough grass.
April
— Tulipa (mid)
Plant in autumn, grow outdoors in pots, borders and gravel gardens.
— Narcissus (late)
Plant in autumn, grow outdoors in pots and borders or through rough grass.
— Anemone (autumn planted)
Plant in autumn, grow outdoors in pots, borders and through rough grass.
— Ranunculus (autumn planted)
Plant in autumn, grow outdoors in pots and borders.
— Brunnera
Plant in spring, grow outdoors in pots and borders.
— Hyacintoides (bluebells)
Plant in autumn, grow outdoors in pots, woodland areas, borders or through rough grass
— Fritillaria persica and Fritillaria imperialis
Plant in autumn, grow outdoors in pots or borders.
— Leucojum
Plant in autumn, grow outdoors in pots or borders
May
— Tulipa (late)
Plant in autumn, grow outdoors in pots, borders or gravel gardens.
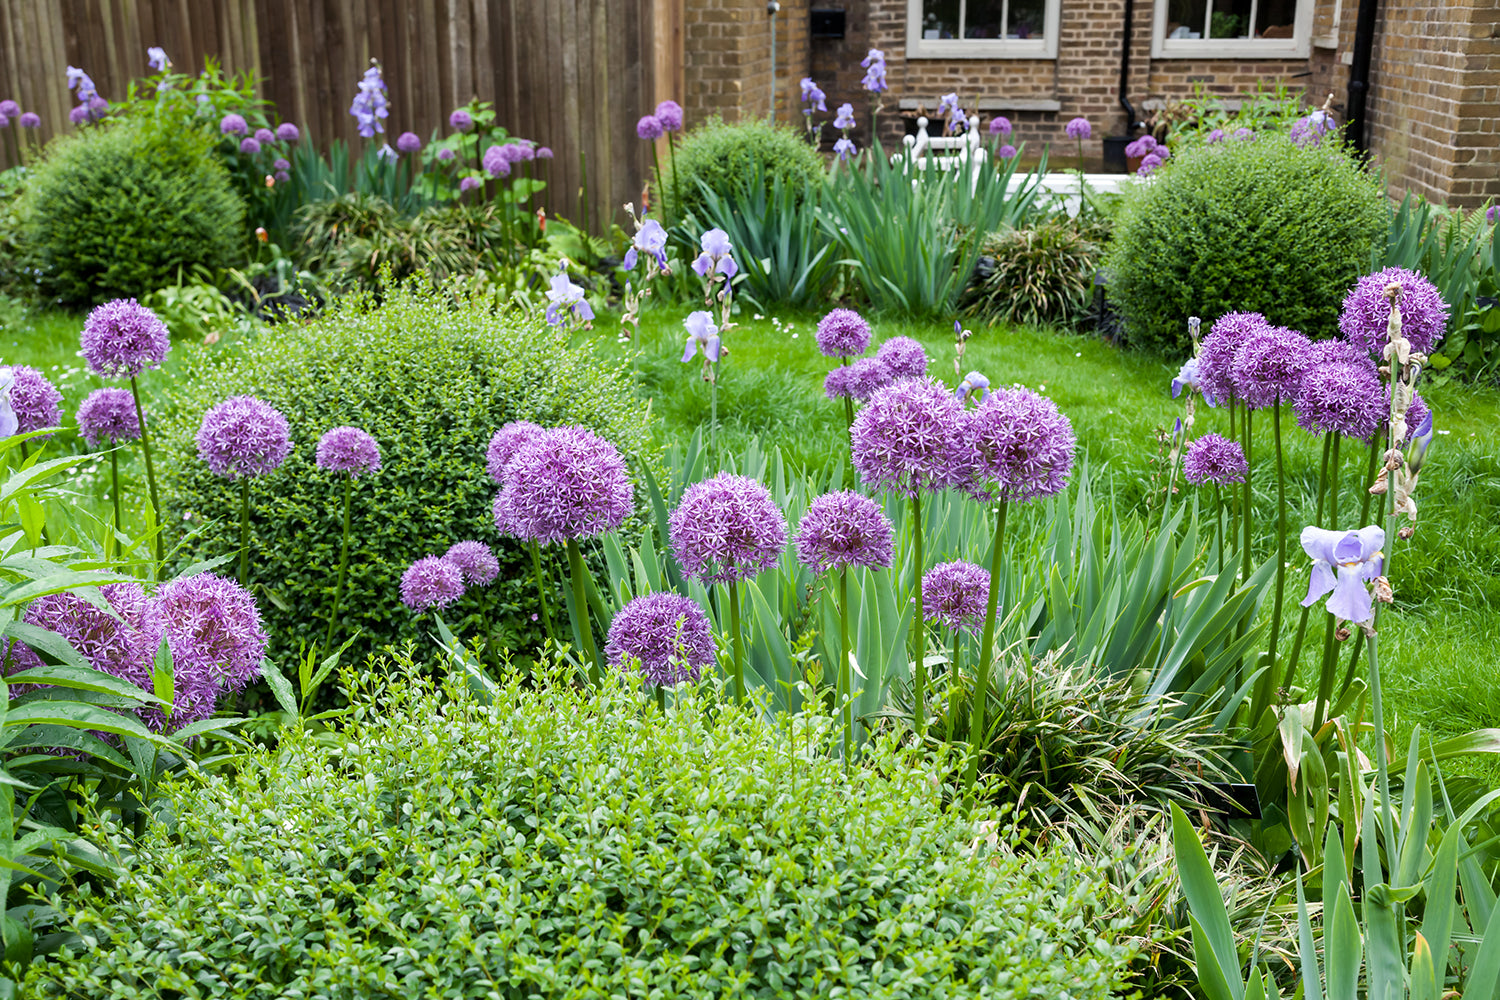
— Allium (early)
Plant in autumn, grow outdoors in pots, borders, meadows and gravel gardens.
— Paeonia
Plant in autumn or spring, grow outdoors in large pots or borders.
— Convallaria
Plant in spring, grow outdoors in pots or borders.
— Dicentra
Plant in spring, grow outdoors in large pots or borders.
— Brunnera
Plant in spring, grow outdoors in pots and borders.
— Eremurus
Plant in autumn, grow outdoors in borders or gravel gardens.
— Camassia
Plant in autumn, grow outdoors in large pots, borders or meadows.
— Iris × hollandica (Dutch iris)
Plant in autumn, grow outdoors in large pots, borders or gravel gardens
— Iris germanica (Bearded iris)
Plant in spring, grow outdoors in pots and borders.
— Gladiolus byzantinus
Plant in autumn or spring, grow outdoors in borders or rough grass areas.
— Geranium
Plant in spring, grow outdoors in pots and borders.
June
— Allium (mid)
Plant in autumn, grow outdoors in pots, borders, meadows and gravel gardens.
— Paeonia
Plant in autumn or spring, grow outdoors in large pots or borders.
— Lilium
Plant in spring, grow outdoors in large pots and borders
— Caladium
Plant in spring, grow indoors, then transfer outdoors during summer to pots or borders.
— Geum
Plant in spring, grow outdoors in pots and borders.
— Geranium
Plant in spring, grow outdoors in pots and borders.
— Papaver (oriental poppy)
Plant in spring, grow outdoors in pots and borders.
— Gladiolus
Plant in spring, grow outdoors in borders.
July
— Allium (late)
Plant in autumn, grow outdoors in pots, borders, meadows and gravel gardens.
— Anemone (spring planted)
Plant in spring, grow outdoors in pots, borders and through rough grass.
— Ranunculus (spring planted)
Plant in spring, grow outdoors in pots or borders.
— Lilium
Plant in spring, grow outdoors in large pots and borders.
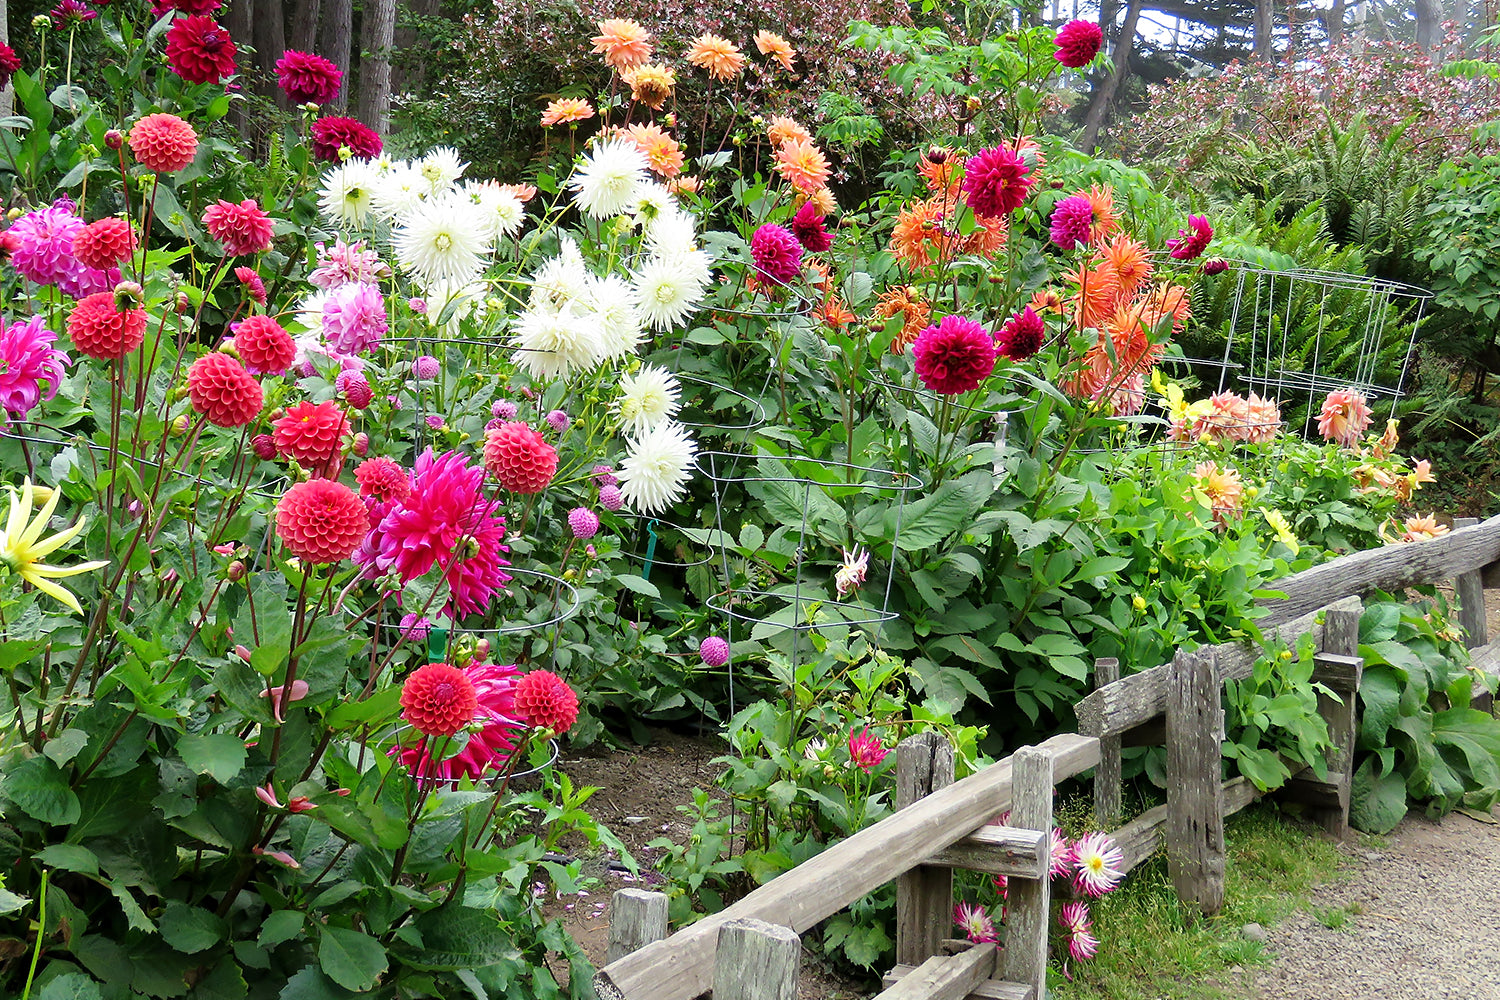
— Dahlia
Plant in spring, grow outdoors in large pots and borders.
— Calla
Plant in spring, grow outdoors in pots and borders.
— Begonia
Plant in spring, grow outdoors in pots and borders.
— Gladiolus
Plant in spring, grow outdoors in large pots and borders.
— Caladium
Plant in spring, grow indoors, then transfer outdoors during summer to pots or borders.
— Canna
Plant in spring, grow outdoors in large pots and borders.
— Geranium
Plant in spring, grow outdoors in pots and borders.
— Colocasia
Plant in spring, grow indoors, then transfer outdoors during summer to pots or borders.
— Crocosmia
Plant in spring, grow outdoors in large pots or borders.
— Gypsophila
Plant in spring, grow outdoors in large pots or borders.
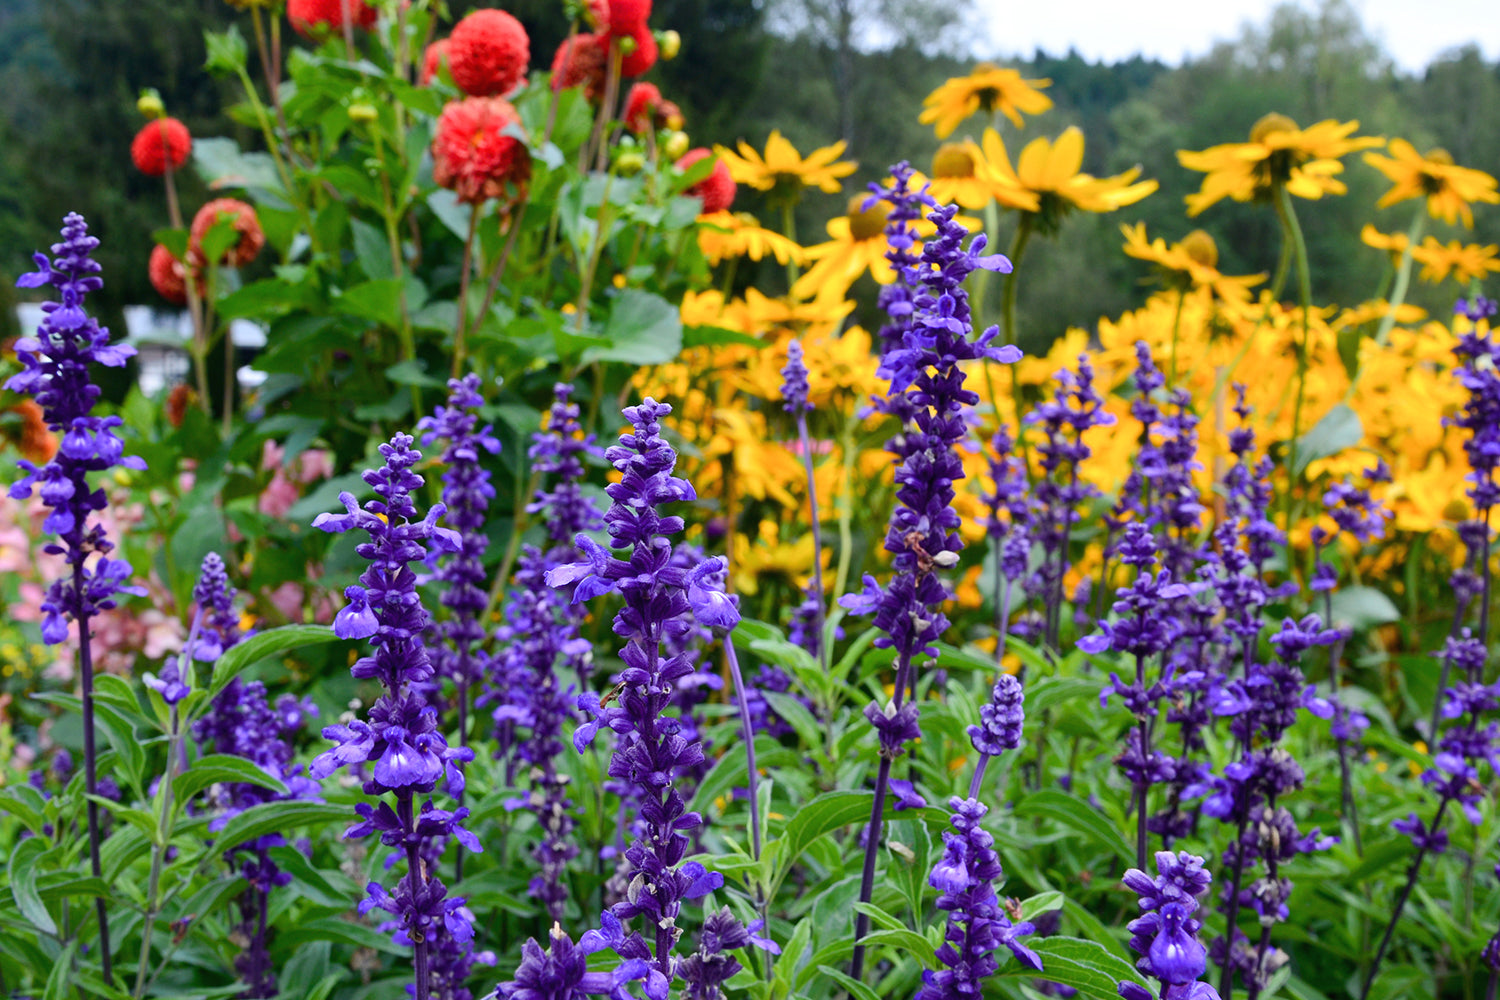
— Salvia
Plant in spring, grow outdoors in large pots or borders.
August
— Dahlia
Plant in spring, grow outdoors in large pots or borders.
— Begonia
Plant in spring, grow outdoors in pots or borders.
— Gladiolus
Plant in spring, grow outdoors in large pots and borders.
— Calla
Plant in spring, grow outdoors in pots or borders.
— Caladium
Plant in spring, grow indoors, then transfer outdoors during summer to pots or borders.
— Agapanthus
Plant in spring, grow outdoors in pots or borders
— Canna
Plant in spring, grow outdoors in large pots and borders
— Colocasia
Plant in spring, grow indoors, then transfer outdoors during summer to pots or borders.
— Crocosmia
Plant in spring, grow outdoors in large pots or borders.
— Amaryllis belladonna
Plant in spring or autumn, grow outdoors in large pots or borders.
— Perovskia
Plant in spring, grow outdoors in borders.
— Persicaria
Plant in spring, grow outdoors in borders.
— Gypsophila
Plant in spring, grow outdoors in large pots or borders.
— Delphinium
Plant in spring, grow outdoors in borders.
— Cosmos
Plant in spring, grow outdoors in borders or rough grass areas.
— Salvia
Plant in spring, grow outdoors in large pots or borders.
September
— Dahlia
Plant in spring, grow outdoors in large pots or borders.
— Begonia
Plant in spring, grow outdoors in pots or borders.
— Calla
Plant in spring, grow outdoors in pots or borders.
— Rudbeckia
Plant in spring, grow outdoors in large pots or borders.
— Echinacea
Plant in spring, grow outdoors in large pots or borders.
— Caladium
Plant in spring, grow indoors, then transfer outdoors during summer to pots or borders.
— Canna
Plant in spring, grow outdoors in large pots or borders.
— Colocasia
Plant in spring, grow indoors, then transfer outdoors during summer to pots or borders.
— Acidanthera
Plant in spring, grow outdoors in pots or borders.
— Bessera
Plant in spring, grow outdoors in pots or borders.
— Polianthes
Plant in spring, grow indoors, then transfer outdoors during summer to pots or borders.
— Persicaria
Plant in spring, grow outdoors in large pots or borders.
— Japanese Anemone
Plant in spring, grow outdoors in borders.
— Sedum
Plant in spring, grow outdoors in large pots or borders.
— Cosmos
Plant in spring, grow outdoors in borders or through rough grass.
— Hedychium
Plant in spring, grow outdoors in large pots or borders.
— Salvia
Plant in spring, grow outdoors in large pots or borders.

October
— Dahlia
Plant in spring, grow outdoors in large pots or borders.
— Begonia
Plant in spring, grow outdoors in pots or borders.
— Crocus speciosus
Plant in early autumn, grow outdoors in pots, borders, rockeries or through rough grass.
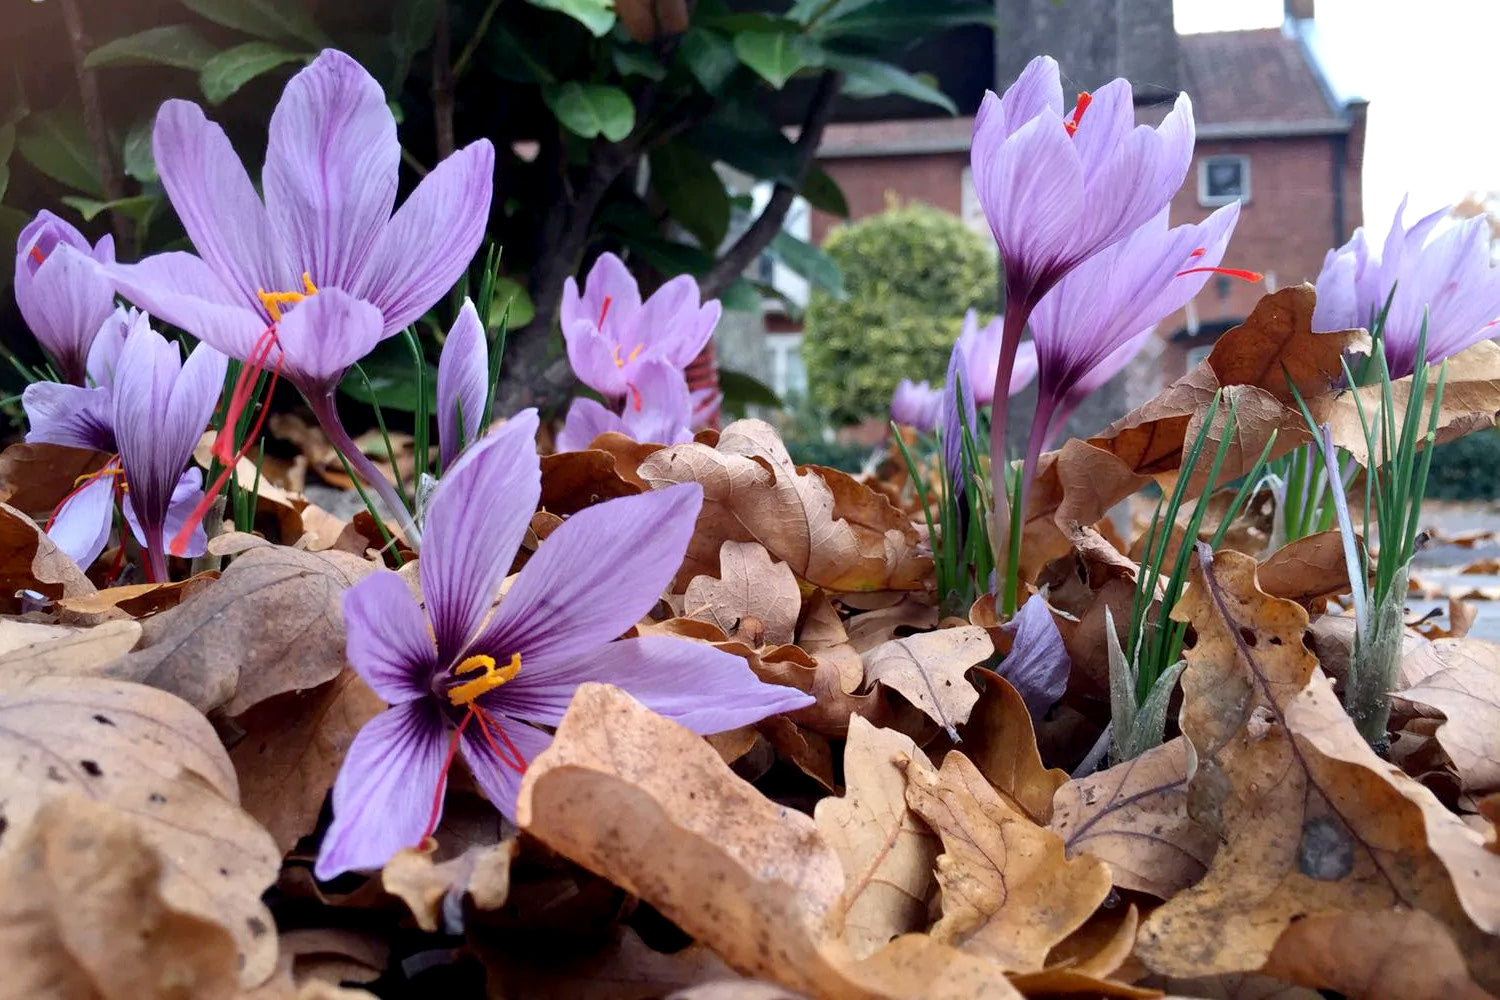
— Crocus sativus
Plant in early autumn, grow outdoors in pots, borders, rockeries and gravel gardens.
— Colchicum
Plant in early autumn, grow outdoors in pots, borders or woodland areas.
— Nerine
Plant in spring, grow outdoors in pots, borders or gravel gardens.
— Amarine
Plant in spring, grow outdoors in pots, borders or gravel gardens.
— Sedum
Plant in spring, grow outdoors in large pots or borders.
— Schizostylis
Plant in spring, grow outdoors in pots or borders.
November
— Nerine
Plant in spring, grow outdoors in pots, borders or gravel gardens.
— Amarine
Plant in spring, grow outdoors in pots, borders or gravel gardens.
— Crocus speciosus
Plant in early autumn, grow outdoors in pots, borders, rockeries or through rough grass.
— Crocus sativus
Plant in early autumn, grow outdoors in pots, borders, rockeries and gravel gardens.
— Oxalis versicolor
Plant in early autumn, grow outdoors in pots, borders, rockeries and gravel gardens.
December
— Hippeastrum (amaryllis)
Plant in autumn, grow indoors.
— Paperwhites
Plant in autumn, grow indoors.
— Oxalis versicolor
Plant in early autumn, grow outdoors in pots, borders, rockeries and gravel gardens.

Flowers through the year, at a glance
|
January
|
Eranthis hyemalis, Iris reticulata, Hippeastrum, Paperwhites
|
|
February
|
Eranthis hyemalis, Iris reticulata, Hippeastrum, Crocus, Narcissus
|
|
March
|
Crocus, Hyacinth, Muscari, Fritillaria, Tulipa, Narcissus, Scilla, Chionodoxa
|
|
April
|
Tulipa, Narcissus, Anemone, Ranunculus, Brunnera, Hyacinthoides, Fritillaria persica, Leucojum
|
|
May
|
Tulips, Allium, Paeonia, Convallaria, Dicentra, Brunnera, Eremurus, Camassia, Iris × hollandica, Iris germanica, Gladiolus byzantinus, Geranium
|
|
June
|
Allium, Paeonia, Lilium, Caladium, Geum, Geranium, Papaver, Gladiolus
|
|
July
|
Allium, Anemone, Ranunculus, Lilium, Dahlia, Calla, Begonia, Gladiolus, Caladium, Canna, Geranium, Colocasia, Crocosmia, Gypsophila, Salvia
|
|
August
|
Dahlia, Begonia, Gladiolus, Calla, Caladium, Agapanthus, Canna, Colocasia, Crocosmia, Amaryllis belladonna, Perovskia, Persicaria, Gypsophila, Delphinium, Cosmos, Salvia
|
|
September
|
Dahlia, Begonia, Calla, Rudbeckia, Echinacea, Caladium, Canna, Colocasia, Acidanthera, Bessera, Polianthes, Persicaria, Japanese Anemone, Sedum, Cosmos, Hedychium, Salvia
|
|
October
|
Dahlia, Begonia, Crocus speciosus, Crocus sativus, Colchicum, Nerine, Amarine, Sedum, Schizostylis
|
|
November
|
Nerine, Amarine, Crocus speciosus, Crocus sativus, Oxalis versicolor
|
|
December
|
Hippeastrum, Paperwhites, Oxalis versicolor
|
]]>


 Enjoy a season of colour with climbing Clematis


 Tulips are synonymous with spring, offering an astonishing palette of colours and shapes. Plant
  Daffodils, quintessential British spring flowers, symbolise rebirth and new beginnings.
  Known for their striking spherical flower heads, alliums (or ornamental onions) add a unique architectural element to any garden.
  Crocuses are among the earliest bloomers of spring in the UK, often peeking through the snow. These petite flowers are best planted in drifts to create a naturalistic effect.
  Hyacinths are celebrated for their intoxicating fragrance and dense spikes of flowers. Plant
  Fritillarias are known for their exotic, bell-shaped flowers that add a touch of the unusual to your spring garden. In the UK, plant
  Muscari, commonly known as grape hyacinths, are characterised by their clusters of small, blue, urn-shaped flowers.
  Camassias or wild hyacinths are native to North America but have found a loving home in UK gardens thanks to their star-shaped flowers and strong vertical presence. Plant
  Anemones, often referred to as windflowers, are cherished for their vibrant colours and daisy-like blooms. Plant
  Ranunculus, also known as
  Scilla, commonly known as squill, are small but mighty contributors to the spring floral display. Plant
  Eranthis, or winter aconites, are among the earliest bloomers, often appearing as early as late winter. These cheerful, yellow, poppy-like flowers can be planted in autumn in partially shaded, well-drained areas. Plant the
  Puschkinia, also known as Russian snowdrops or striped squill, produces clusters of delicate, pale blue flowers striped with darker blue lines, adding a touch of subtle elegance to your garden. Plant

 "Resist the urge to tidy up too soon and let nature do its work."
 Planning for next season

 Applying mulch around your bulbs can be a game-changer in maintaining soil moisture. A 5-8cm layer of organic mulch like shredded bark, compost, or leaf mold helps keep the soil cool and reduces evaporation. Mulch also suppresses weeds, which can compete for water and nutrients.